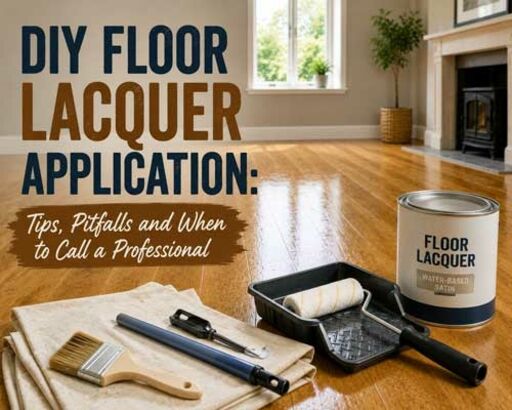
Applying floor lacquer is technically achievable as a DIY project for careful and methodical homeowners. The products are available to buy direct, the equipment can be hired, and the process is documented by manufacturers like Bona and Loba in clear technical guides. However, it is also a process where mistakes are hard to hide and where poor technique produces visible results that are expensive to rectify.
This guide covers what you genuinely need, the preparation that must not be skimped, the most common DIY application mistakes and where, honestly, the risk of poor results suggests calling a professional floor finisher.
Equipment You Will Need
The most critical piece of equipment is the floor sander. For a room of typical residential size, a drum sander for the main field area and an edge sander for the perimeters are the standard tools. These can be hired from most large hire centres and some floor supply companies. The quality of hired machines varies considerably; ask when the drum sander drums were last replaced and whether fresh abrasive papers are provided. A worn drum on a sander produces an uneven result that no amount of careful lacquer application will disguise.
For applying the lacquer, a high-quality T-bar applicator with a replaceable pad is the most practical tool for a DIYer. Wide application pads and rollers designed specifically for floor lacquers are alternatives, but the T-bar is the most forgiving for someone without professional experience. Do not attempt to apply floor lacquer with a paintbrush or a standard roller; the results will be uneven and likely to show application marks.
You will also need a pole sander or buffer with abrasive screens for the intercoat sanding, a good vacuum cleaner, microfibre cloths for dust removal, and appropriate personal protective equipment including a dust mask for the sanding stages.
Preparation Is More Important Than Application
The preparation stage determines the quality of the final result. Sanding must produce a level, consistent surface with no visible machine marks, swirls or ridges. Starting with too coarse an abrasive and not finishing fine enough leaves marks that the lacquer will follow and exaggerate rather than hide. The standard progression is 40-grit, 60-grit and 80-grit for most residential floors, finishing with a 100-grit or 120-grit pass to produce a smooth, consistent surface.
After sanding, the floor must be dust-free before any coating is applied. Vacuum the entire floor thoroughly, paying attention to gaps between boards and the perimeter angles where dust accumulates. Wipe the surface with a slightly damp microfibre cloth and allow it to dry completely. A single pass with a tack cloth before the first coat is good practice.
Common DIY Application Mistakes
The most common DIY lacquer application mistake is applying too thick a coat. Thicker coats do not produce a more durable result; they produce a coat that remains tacky longer and is more likely to develop surface defects including bubbles, drips and wrinkles. Follow the manufacturer's application rate guidance precisely.
Not maintaining a wet edge is another frequent problem. If you allow the leading edge of your application to dry before the adjacent section is applied next to it, a visible line develops in the dried lacquer. This is more likely to happen in warm conditions or in large rooms where you cannot complete a pass before the first applied area starts to set. Working in sections across the grain can help manage this.
Mixing two-component products incorrectly or not mixing them well enough is a serious error. Bona Traffic HD and similar two-component lacquers require precise ratios of base to hardener and thorough mixing. Incorrect ratios result in a finish that does not fully cure, remaining soft and tacky for days or developing a foggy appearance.
When to Call a Professional
- Large areas: rooms over 30 to 40 square metres are challenging for inexperienced applicators
- Complex layouts: L-shaped rooms, rooms with many obstacles and intricate cutting-in
- Stairs: applying lacquer on stair treads and risers requires experience and steady technique
- Precious or expensive floors: a mistake on a rare wood species or an expensive wide-plank installation is not worth the risk
- Existing floor with unknown previous finish: adhesion problems with unknown underlying finishes require professional diagnosis
A professional floor finisher working with quality products from Bona or Loba will produce a result that is uniformly flat, even in sheen, and free of the application marks that commonly affect DIY work. The cost of professional finishing is often recovered by avoiding the expense of correcting a poor DIY result or refinishing prematurely. For small, straightforward rooms where you are willing to invest the time in proper preparation, DIY lacquer application is genuinely viable. For anything larger or more complex, the investment in professional application is well justified.